PixelTexturePainter FREE Pixel art on 3d model painter
A downloadable tool for Windows and Linux
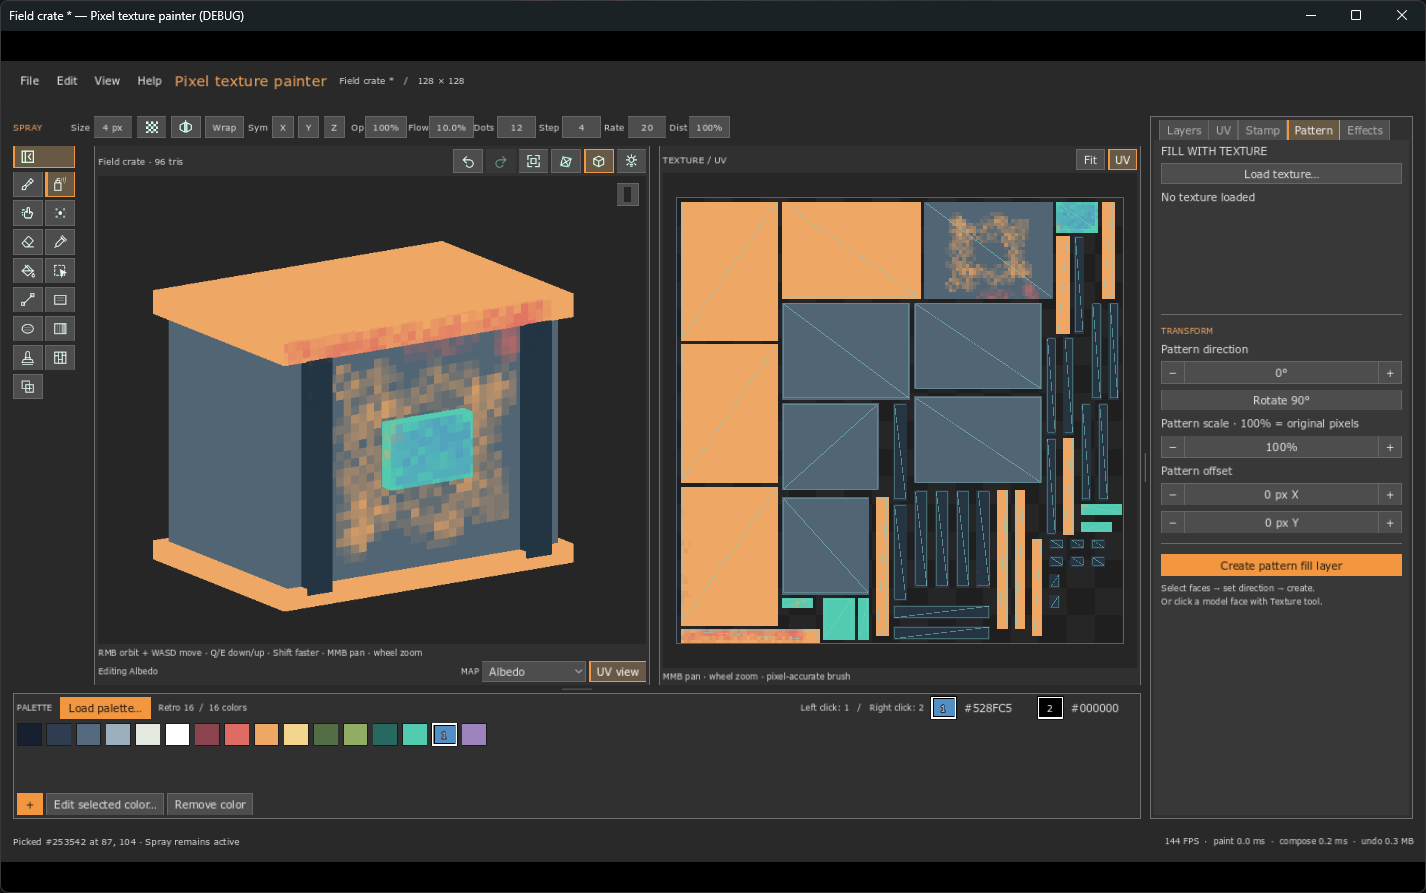
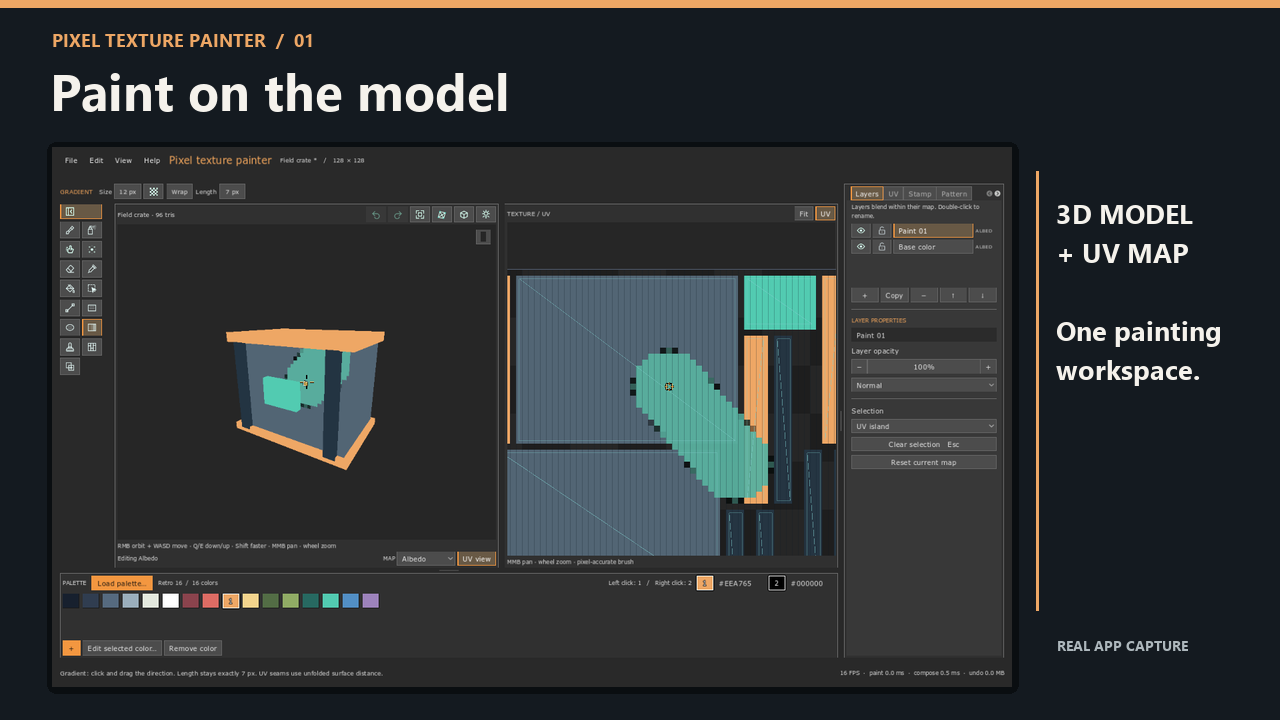
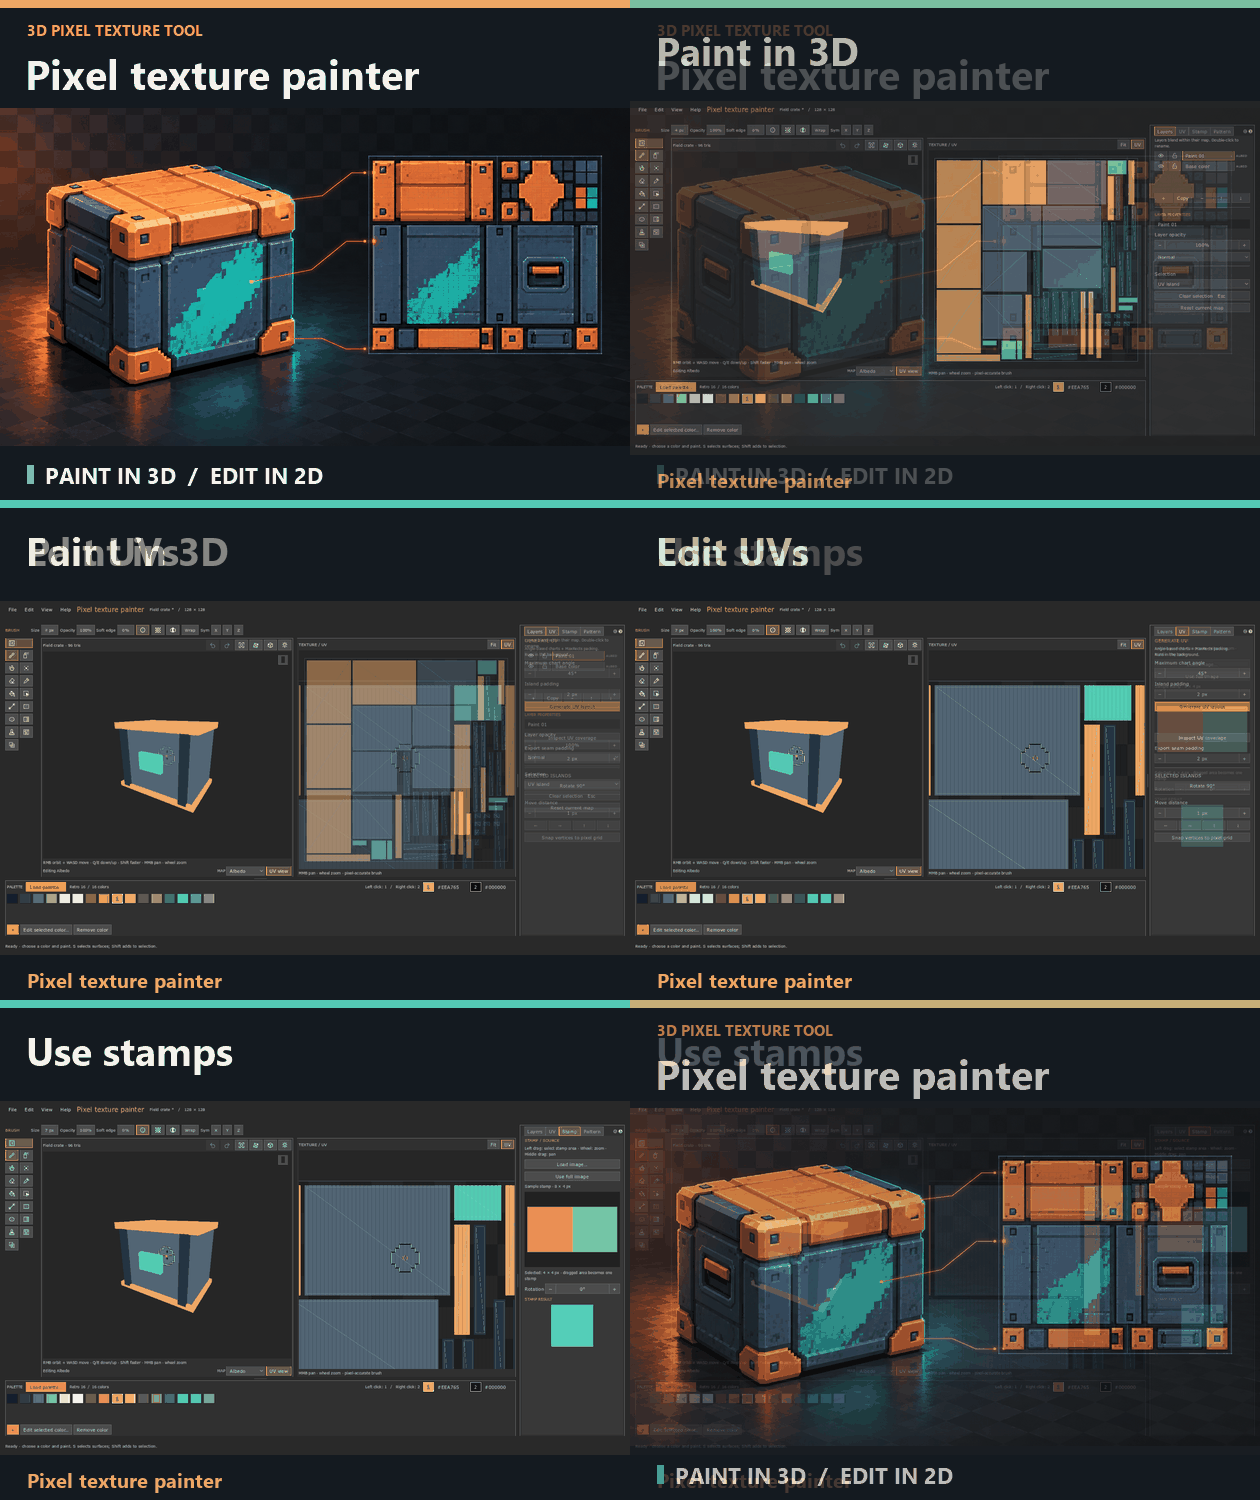
Paint pixel textures directly on a 3D model or in its UV view. Pixel texture painter is a standalone FREE tool for creating and editing textures for low-poly, retro-style models. Move between the model and the texture atlas as you work, with your paint visible in both views.
Painting tools
- Brush — Paint with square or round strokes, adjustable size, opacity and soft edges. Add dithering or mirror strokes across the UV atlas.
- Spray — Scatter pixels with controls for density, spacing, rate, flow and distance. A cursor preview shows where the next burst will land.
- Eraser, Smudge and Blur — Remove paint, drag existing color or soften a local area.
- Picker and Clone — Sample a color, or set a source point and copy existing paint.
- Fill — Fill selected faces or a connected color region. Adjust tolerance and choose whether the fill stays contiguous.
- Line, Rectangle and Ellipse — Preview shapes in the 3D and UV views before applying them.
- Gradient — Drag a pixel-length gradient between two colors, with optional dithering.
- Stamp — Load a PNG, JPG or WebP image, crop the area you want, rotate it and paint with it (Decal)
- Texture — Fill faces with a repeating image on an editable layer/texture. Change its direction, scale or offset later without losing paint added on top.
- Select — Choose faces, UV islands, objects or materials. Add to or subtract from the selection, and grow or shrink it across neighboring faces.
Painting can stay within a selection or UV island. Wrap carries supported strokes across neighboring 3D faces even when there is a UV seam. For direct painting on the model, X, Y and Z symmetry can mirror supported brush strokes across the model.
Layers and material maps
Organize your work with up to 32 layers across seven maps: Albedo, Roughness, Metallic, Normal, Height, Ambient Occlusion and Emission. Add, duplicate, reorder, rename, hide or lock layers; adjust opacity; and use Normal, Multiply or Add blending. The layer list has an adjustable height.
Switch maps while painting, then use the lit material preview to inspect Albedo together with the supported PBR maps. You can also generate an editable Normal map from a painted Height map.
UV tools and effects
Generate a UV layout for a model without usable UVs, inspect tiny or overlapping faces, rotate or move selected islands, and snap vertices to the pixel grid. UV changes offer an Apply/Cancel preview that carries existing paint to the new layout. Export seam padding helps reduce visible seams.
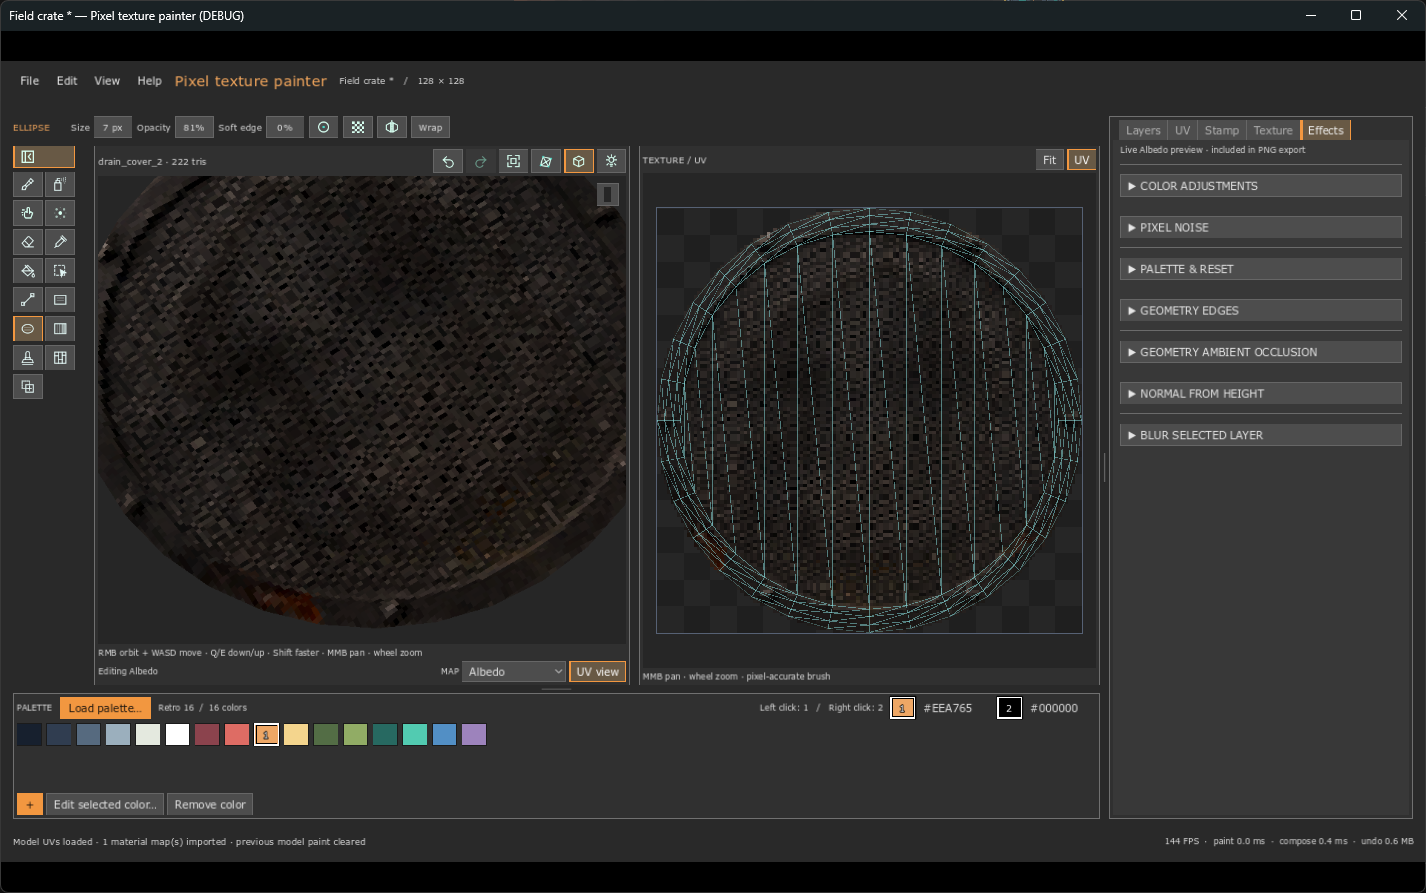
The Effects panel includes live brightness, contrast, saturation, pixel noise and palette limiting for Albedo. Generate edge highlights or bake geometry-based ambient occlusion onto new layers. You can also preview and apply a blur to the selected layer.
Colors and workflow
Load palettes from PNG, HEX, GPL, PAL, TXT, ASE, and Lospec JSON or CSV files. Keep two active colors, edit palette swatches, and replace a color across the current map. Undo and redo cover painting and many editing operations.
Import GLB, glTF or OBJ models. Supported material textures from GLB and glTF become paintable layers. Save the full project as an .rtpaint file, export an individual map or all maps as PNG, and export the model as GLB, glTF or OBJ. GLB and glTF can include the supported painted material maps; export textures separately for OBJ. Height is exported as PNG.
The workspace includes wireframe and orthographic views, camera navigation, a compact toolbar and adjustable panels. It remembers your workspace settings and last project. Backup saves and autosave recovery help protect work in progress.
Work in progress, not all function as its intended (PBR Workflow).
Controls & shortcuts
Painting tools
- B — Brush
- A — Spray
- E — Eraser
- I — Color Picker
- F — Fill
- S — Select
- C — Clone
- U — Smudge
- V — Blur
- L — Line
- R — Rectangle
- O — Ellipse
- G — Gradient
- T — Stamp
- P — Texture fill
Painting and selection
- Left-click and drag to paint. For lines, rectangles, ellipses and gradients, drag to preview the result, then release to apply it.
- Alt + left-click picks a color without changing tools.
- Ctrl + left-click and drag horizontally changes the current tool’s size. Alt + left-click and drag horizontally changes its opacity. A short click keeps the tool’s normal Ctrl/Alt action.
- [ / ] decreases or increases brush size.
- With Select, click to choose a UV island, face, object or material according to the selection mode in Layers. Shift + click adds; Ctrl + click subtracts.
- Ctrl + . / Ctrl + , grows the selection or steps it back. Esc clears it.
- With Clone, Ctrl + click sets the source; then paint at the destination.
- With Stamp, Alt + right-drag on the model rotates the stamp.
- With Texture, click a model face to fill its UV island, or select faces first and use Fill selected faces in the Texture tab.
3D and UV navigation
- In the 3D view, right-drag rotates the camera, middle-drag pans, and the mouse wheel zooms toward the cursor.
- Hold right mouse button + W/A/S/D to move the camera. Q/E moves down/up; Shift moves faster. Release the right mouse button to use those letters as tool shortcuts again.
- In the UV view, middle-drag or right-drag pans and the mouse wheel zooms.
- Tab toggles the model wireframe. Ctrl + F toggles fullscreen.
- The view buttons Frame, Ortho and Light frame the model, switch projection and enable the current lit material preview. The PBR preview is still in development.
Project and editing
- Ctrl + N — New project
- Ctrl + O — Open project
- Ctrl + S — Save
- Ctrl + Shift + S — Save as
- Ctrl + Z — Undo
- Ctrl + Shift + Z or Ctrl + Y — Redo
- Ctrl + E — Export the current map as PNG
- F2 — Rename the active layer
The File menu also provides Open last project, Recover autosave, model/texture/stamp import, Export all maps PNG and GLB/glTF/OBJ export. The Edit menu provides Reset current map, Resize texture and Replace color.
Panels and precise controls
- In the palette, left-click a swatch for color 1, right-click for color 2, or double-click to edit it. Use the palette buttons to load, add, edit or remove colors.
- In the Stamp preview, left-drag selects a crop, middle-drag pans and the wheel zooms.
- Click a numeric value to type it, drag left/right to adjust it, hold Shift while dragging for finer adjustment, or use the wheel and −/+ buttons.
- In Layers, use +, Copy, Delete and the arrow buttons to manage layers. The eye and lock icons control visibility and editing. Drag the divider to change the layer-list height.
- In UV, use Generate UV layout, Inspect UV coverage, Rotate 90°, movement arrows and Snap vertices to pixel grid. The view controls can fit the texture or toggle its wireframe and panel.
- In Effects, open a section to adjust color, noise, palette limiting, geometry edges, ambient occlusion, Normal from Height or layer blur.
Download
Click download now to get access to the following files:
Development log
- Pixel texture painter — development update8 hours ago
Leave a comment
Log in with itch.io to leave a comment.